Setting Up WS_FTP Home 9
If the Connection Wizard window is not already displayed, click on the
Connection Wizard icon.
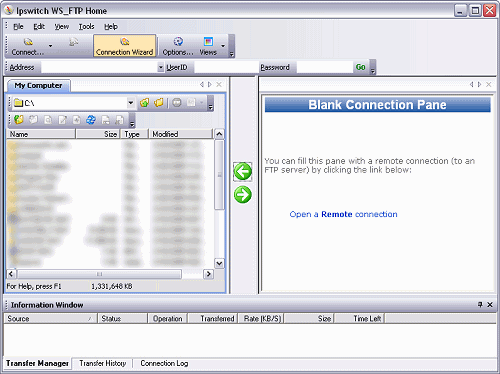
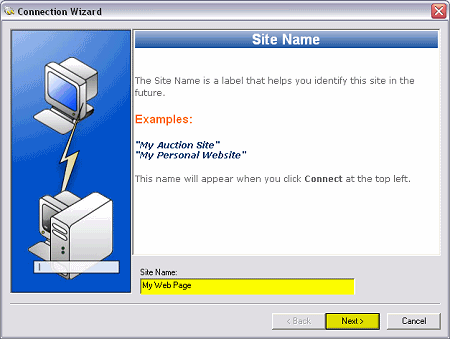
Type in a name for your connection. A suggestion would be the name of your web
site, for instance.
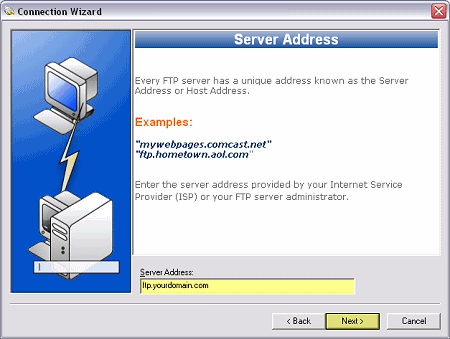
Enter the host name. This would be something like ftp.yourdomain.com where
yourdomain.com would be your actual domain name.
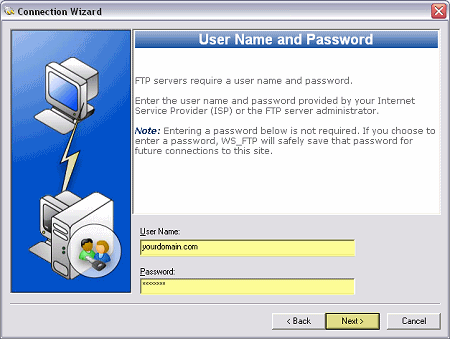
Enter your username and password. Your username is your actual domain name.
Leave the Connection Type at the default FTP and click the Next
button.
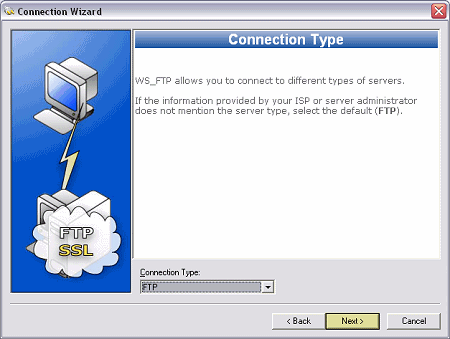
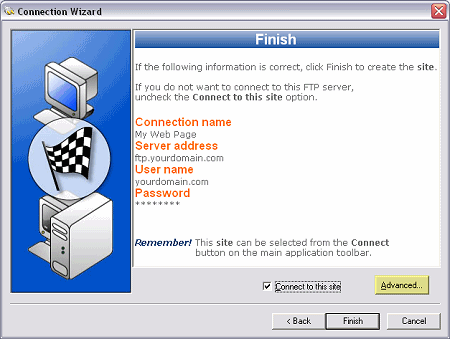
Click on the Advanced button
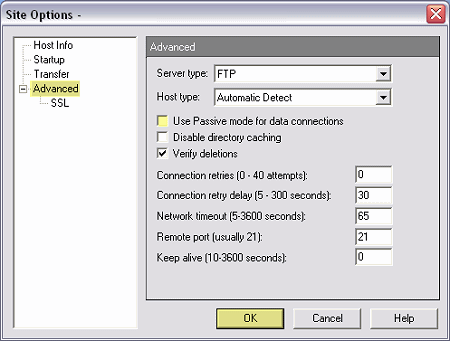
Be sure that the box next to Use passive mode for data connections is
unchecked. Active Web Hosting's FTP server works best when you are not
in passive mode when you connect.
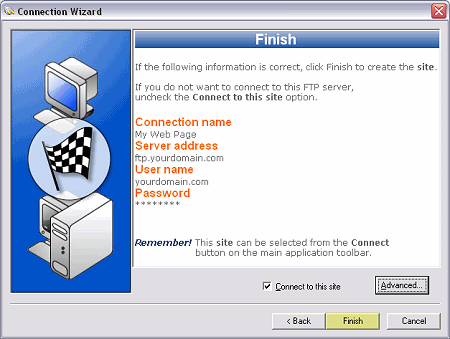
You're now done. Check Connect to this site and the Finish button
to access your web page. After this, you can simply click on the Connect
icon or the down arrow next to it and select your connection.
Transferring Files In WS_FTP Home:
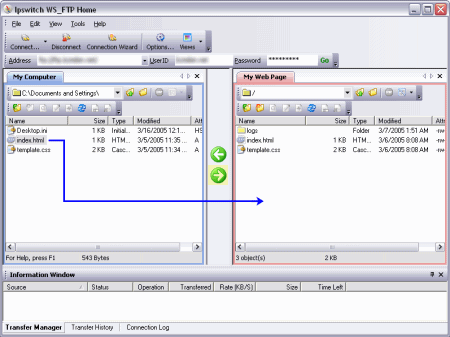
To transfer files from your hard drive to your web space, first select the files
you wish to transfer from the left side. Hold down the CTRL key and click
on additional files you wish to transfer. Click the Green Right Arrow
button in the center. The uploading of the files should start automatically.
When you are done transferring files, disconnect by clicking the Disconnect
Icon.

Using Other FTP Commands:
Changing Folders: If you wish to transfer files to another folder in your
web space, double-click on the folder in the web space window.
Deleting Files: To delete a file, right click on the file and click on
Operations, then Delete.
Renaming Files: To rename a file, right click on the file and click on
Operations, then Rename.
Creating A New Folder: Right Click in the web space window and click on
Operations, then New Folder. Type in the name of the directory and
click the OK button.
To Change File Permissions or use CHMOD: If you are installing a file that
requires certain permissions to be set, right click on the file to change and
select Properties.
|

